THE DECISION IN BRIEF
Liquid gathers around the outlet after spraying. How do we determine the cause?
Observe where and when liquid first appears, then compare full-stroke use, storage, and cap replacement without wiping away the evidence.
Time the observation
A wet actuator immediately after use does not explain the mechanism. Liquid may remain from the final spray, emerge later, or transfer from a contaminated cap. Start with a clean, identified assembly and record its condition before use, immediately after use, and after an agreed waiting period.
Keep formula, fill level, actuation method, and bottle orientation constant. Use photographs from the same viewpoint. The purpose is to establish a timeline, not to make a dramatic plume video. Mark whether the liquid appears at the outlet, around the stem, or beneath the closure.
Use a simple separation sequence
Run each branch on matched samples so that cleaning one pack does not destroy the comparison. These are investigation steps, not universal acceptance limits.
- Spray without replacing the cap; observe the outlet.
- Repeat with the cap replaced according to instructions.
- Store an unused filled control in the same orientation.
- Inspect the cap interior before reusing it.
Follow the location of the liquid
If liquid appears only after cap replacement, examine cap contact and transfer from its inner surface. If it grows at the nozzle while standing untouched, request a sealing and formula review. If it surrounds the closure instead, investigate the bottle interface separately rather than classifying every wet head as nozzle dripping.
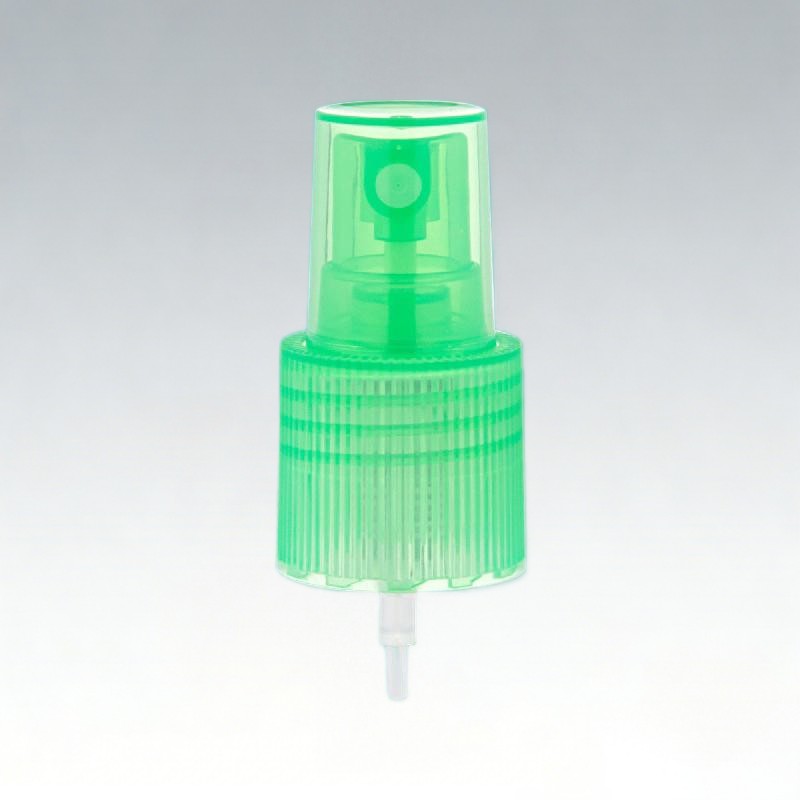
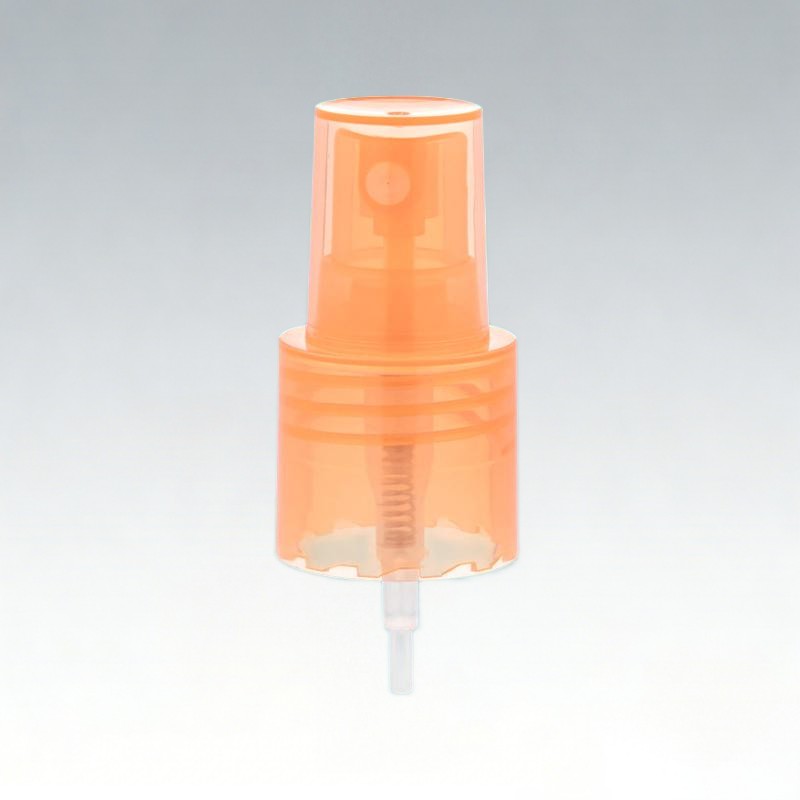
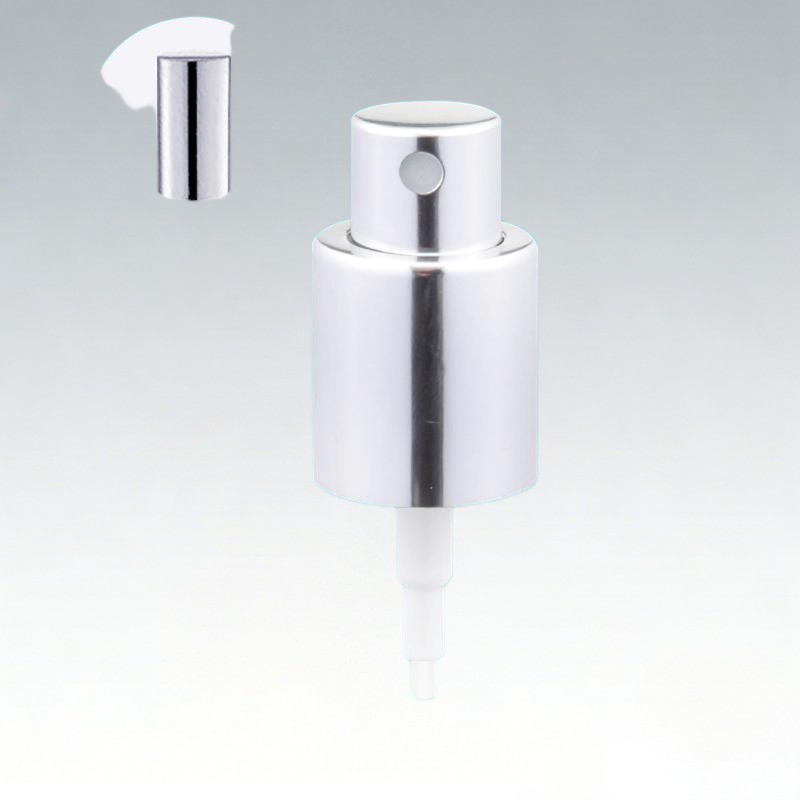
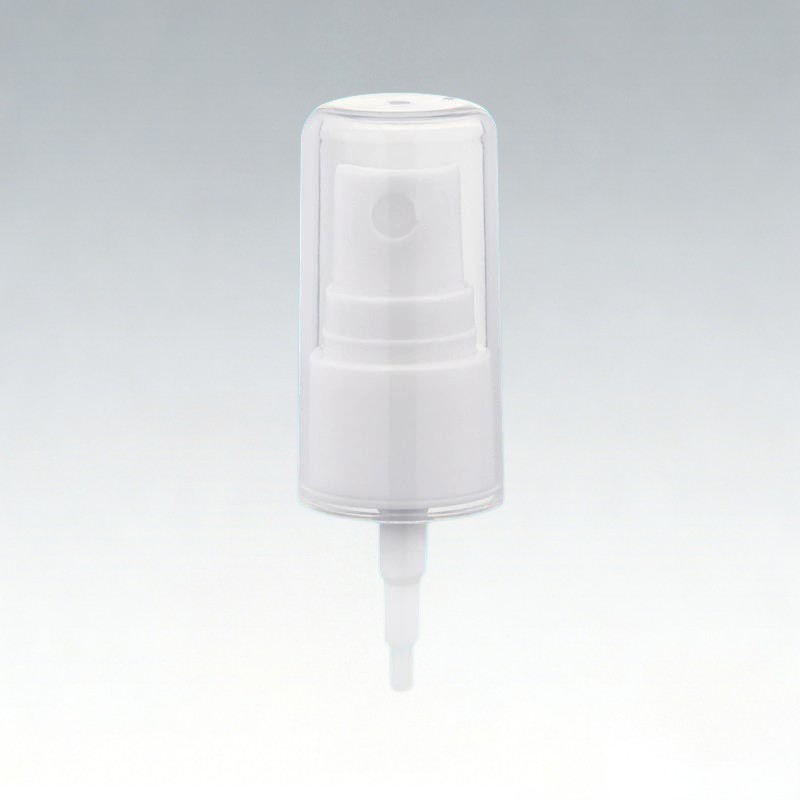
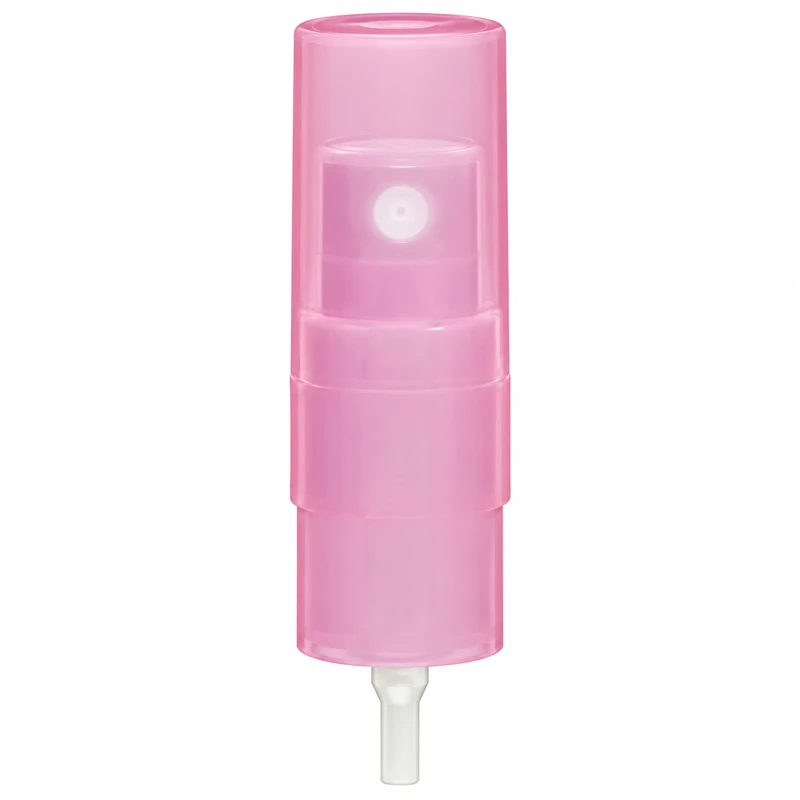
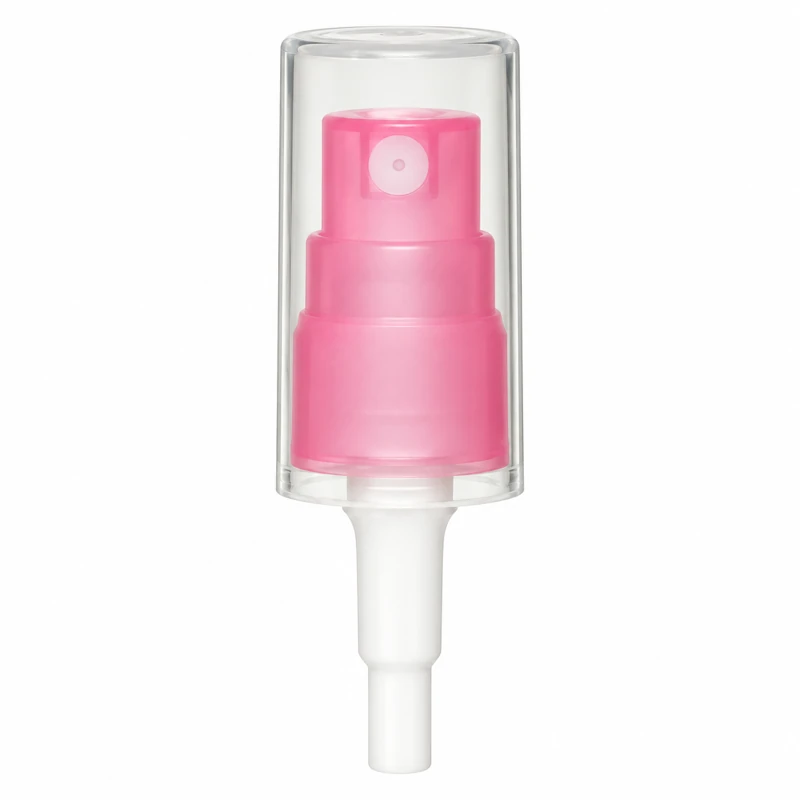
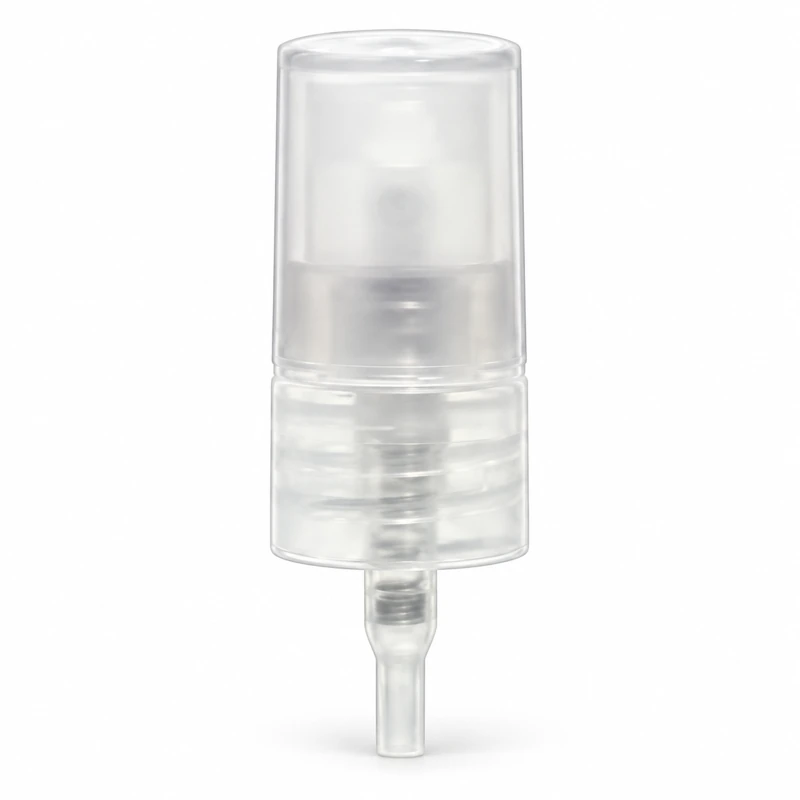
Ask the supplier to identify the exact engine, insert, and actuator used. Silgan’s Sinfonia Elegance range distinguishes configuration options; a similar-looking replacement head should therefore remain an identified test change. Do not assume that reducing nominal output will fix a delayed leakage mechanism.
Define the finished-user outcome
Agree how visible wetting, droplets falling from the head, and liquid collected inside the cap will be judged. Include representative repeated use and relevant storage. A cosmetic acceptance decision may differ from the disposition of a confirmed seal failure, so record those outcomes separately.
Keep failed assemblies unopened for supplier examination where practical. If disassembly is necessary, photograph the condition first and retain all parts. Approve a corrective revision only after repeating the original sequence, not merely after one dry-looking spray on a new sample.
Sources & further reading
Use the references below alongside the selected component drawing and agreed sample plan. Product-specific claims need product-specific evidence.
PRODUCT REFERENCES
Components to discuss with your supplier.
These references share the component type discussed here. Confirm the selected assembly and application with samples.
Related articles
VIEW THE COMPONENTS