THE DECISION IN BRIEF
Our stopper is easy to insert but hard to remove. What should we change?
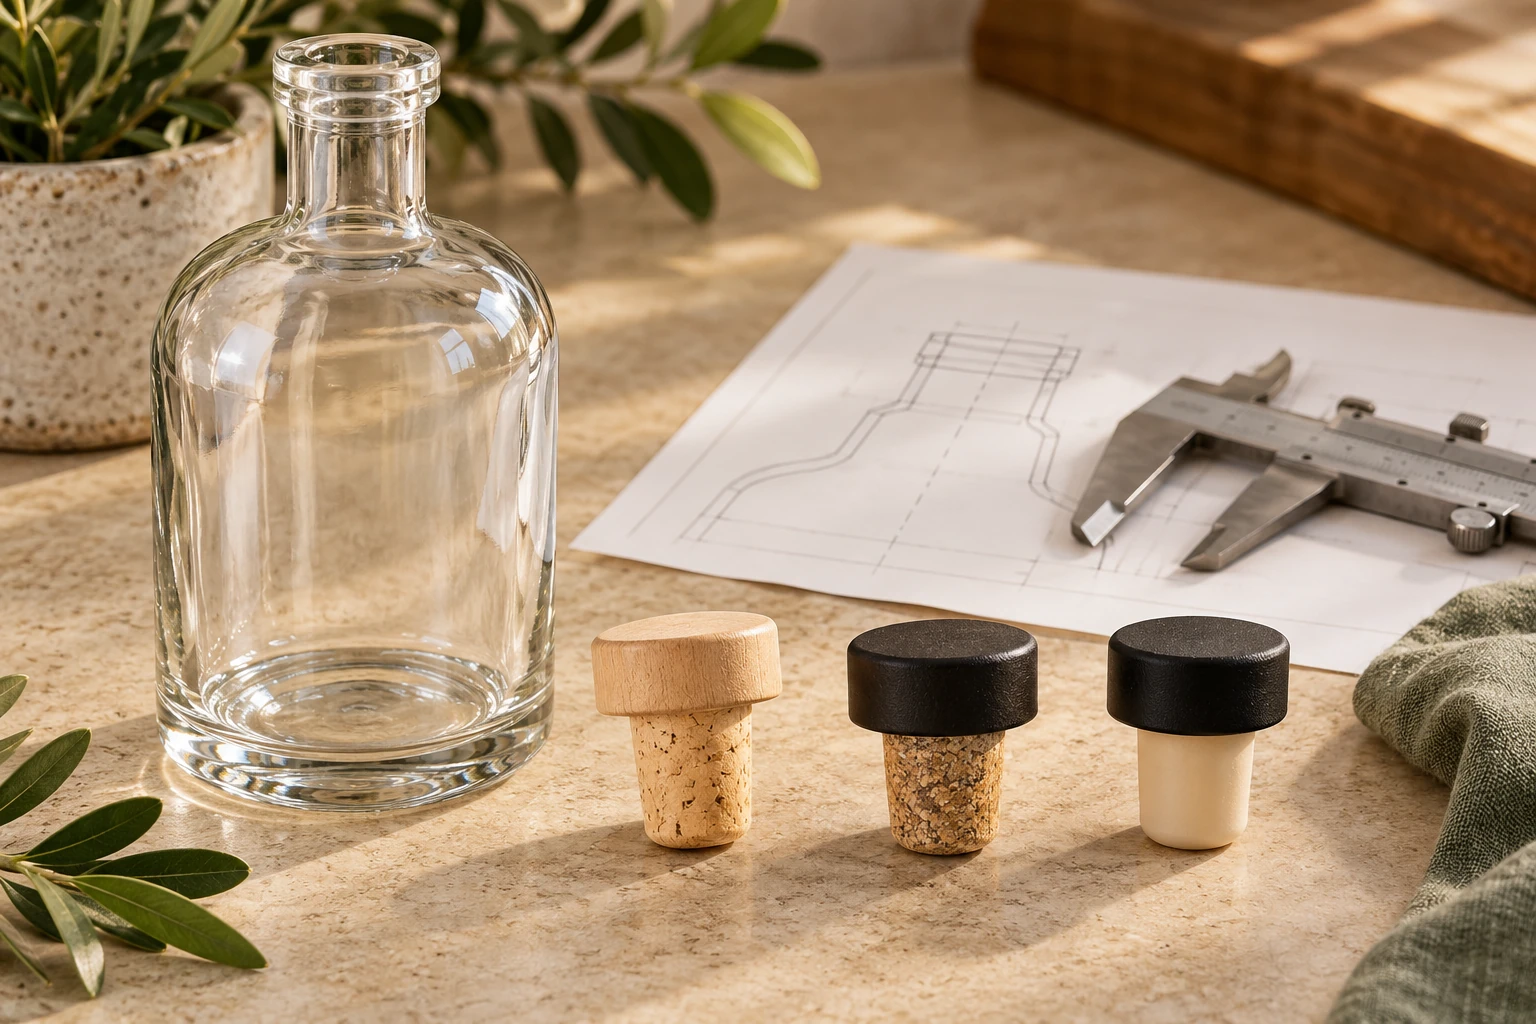
Keep the components unchanged initially. Compare assembly depth, bottle variation, conditioning, and grip using a repeatable extraction method before revising the stem.
Insertion and opening answer different questions
Insertion tells you whether the closure can be applied consistently on the intended line. Extraction tells you whether the assembled pack opens as intended after storage. Neither result can substitute for the other. A stopper that seats smoothly may be uncomfortable to remove, while an easy-opening sample may provide inadequate retention. Purchasing should require both evaluations and identify the conditions under which each will be performed.
Avoid treating an operator’s description of tight as a specification. Agree how force will be measured, which fixture will hold the bottle, the direction and speed of movement, and whether twisting is included. Distinguish a controlled instrument test from a consumer handling assessment. Both can be useful, but their results should not be mixed in one acceptance range. Limits must be agreed for the exact stopper, bottle, and use.
Record the variables before changing parts
A simple trial record often reveals the cause faster than ordering a succession of larger or smaller stems.
| Observation | Variable to check first | Evidence to preserve |
|---|---|---|
| Uneven seating | Alignment, insertion method, and neck condition | Photograph and assembly settings |
| Hard opening after storage | Conditioning, liquid contact, and bottle batch | Elapsed time and matched retained packs |
| Head separates during removal | Head connection and actual extraction resistance | Both pieces and lot identities |
| Different users report different effort | Head grip, hand position, and opening motion | A consistent handling assessment |
| Only one glass batch fails | Internal neck profile and variation | Measured bottle samples |
Separate the line from the component
Start with dry representative bottles and an agreed application method, then introduce actual filling conditions. Check that the stopper enters squarely and reaches the approved position without damage. A tilted insertion, wet neck, or inconsistent stopping point can distort the apparent component performance. Amorim’s capsulated stopper guidance emphasizes smooth insertion and minimizing moisture inside the neck; obtain the specific instructions for the chosen STDPAK construction rather than copying another product’s process settings.
When diagnosing a line issue, retain samples before and after a single controlled adjustment. Record alignment, seating position, speed setting, and bottle supply. Do not simultaneously change the stopper diameter, insertion depth, and equipment setup: a passing result would not show which change mattered. If manual application works but the production line does not, compare the application conditions carefully before concluding that the component is defective.
Evaluate opening after the pack has had time to change
Agree relevant evaluation points with the product and packaging teams. Check the initial experience and later behavior under the intended storage conditions. Add repeated removal and reinsertion if the pack is designed for repeated use. Record drips, loose seating, visible stem damage, and head movement independently of extraction effort. Opening ease should not mask a sealing failure.
Include a practical grip assessment with the decorated head. A glossy finish, shallow gripping surface, or heavy top can affect handling without changing the stem’s measured resistance. Keep the physical force result and the user observation side by side. If the instrument result is acceptable but users struggle, a head or surface revision may be more appropriate than loosening the sealing interface.
Close the investigation with a written operating window and retained approved assemblies. State the agreed limits, method, conditioning, sample selection, and disposition for failures. Include a clear escalation rule for head separation or damaged glass. An approval should describe the repeatable package behavior you intend to buy, rather than simply recording that someone opened a handful of samples successfully.
Sources & further reading
Use the references below alongside the selected component drawing and agreed sample plan. Product-specific claims need product-specific evidence.
PRODUCT REFERENCES
Components to discuss with your supplier.
These references share the component type discussed here. Confirm the selected assembly and application with samples.


Related articles
VIEW THE COMPONENTS